Courses/Computer Science/CPSC 203/CPSC 203 Template/Fall 2009 Teaching Assistants/F09 Thomas Burt/Lab 2.3
Contents
- 1 Download Database File
- 2 Create Reports
- 3 Create queries
- 4 Create Complex Queries
Download Database File
I added some more data, so use this file for the lab today.
Create Reports
Reports are a way to present information collected or queried in a professional manner that is easy to read and understand. To create a new report click on the Create tab at the top and then in the ribbon click on the Report Wizard button.


The Report Wizard window should appear, click on the Tables/Queries drop-down arrow button. A list of tables and queries previously created should appear, select the Table: Address Book.
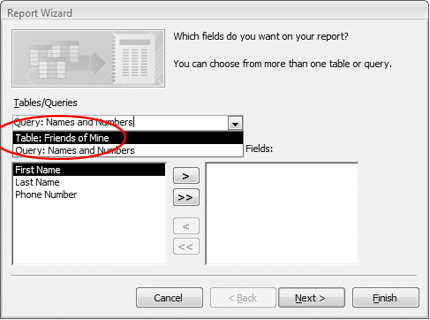

You can choose from the list of Available Fields which fields to include as part of your report. In this particular example we are going to use all the fields, so simply click on the ">>" button to move all the fields into the Selected Fields list.
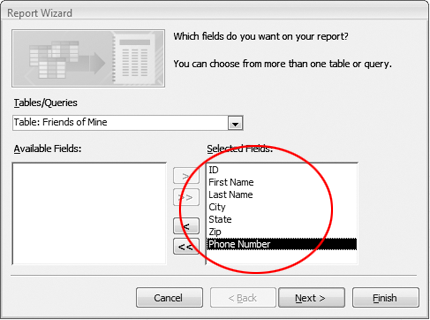

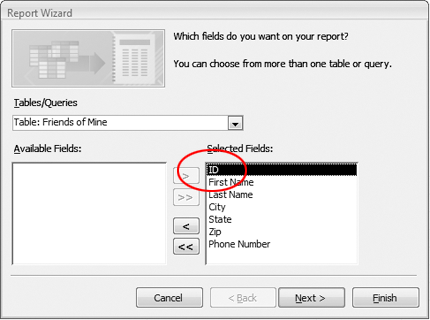
To remove a field that you may have accidently added to the list of Selected Fields, select the field such as "ID" and then click on the "<" button to move the "ID" field back to the list of Available Fields. When you are finished, click on the Next button to continue.

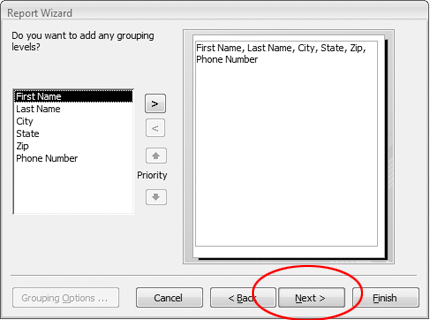
The next screen allows you to group the information, this maybe useful to avoid displaying duplicated information. For example, we could group by City all our customers from Alberta. This would group all our customers from Calgary in one section, Edmonton in another section, etc. Once you are done click on the next button to continue.

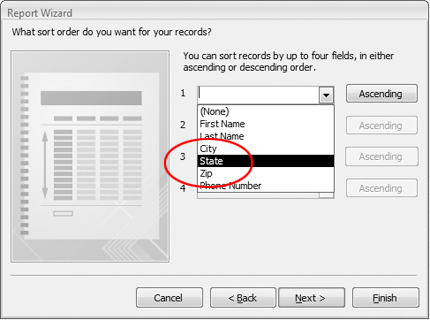
When the next screen appears, you can select how you would like to have the data arranged. For example, you can sort all the data by first or last name. Once you are done click on the next button to continue.

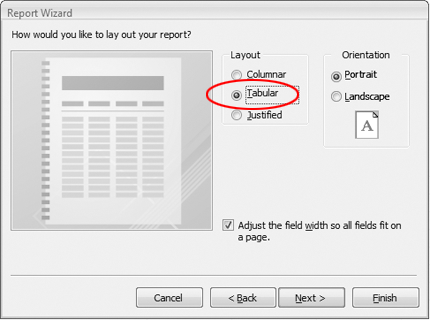
When the next screen appears, you can select the layout and style of how you would like your report to look like. Click through the various layouts to see a simple preview of how the report will be formatted. Once you are done click on the next button to continue.

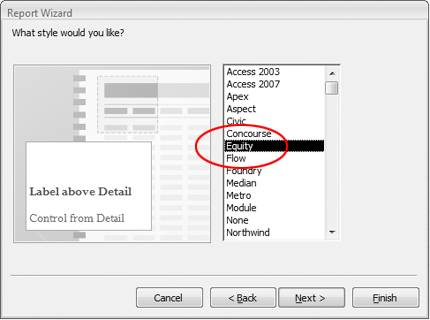
When the next screen appears, you can select the appearance of the report and see a preview what the report will look like. Once you are done click on the next button to continue.

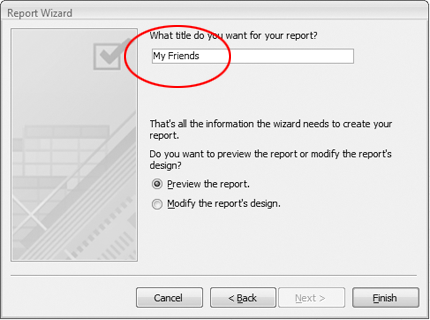
When the final screen appears, give a descriptive name for your report in the text box provided. Click on the Preview the report radio button and then click the Finish button to see your report.

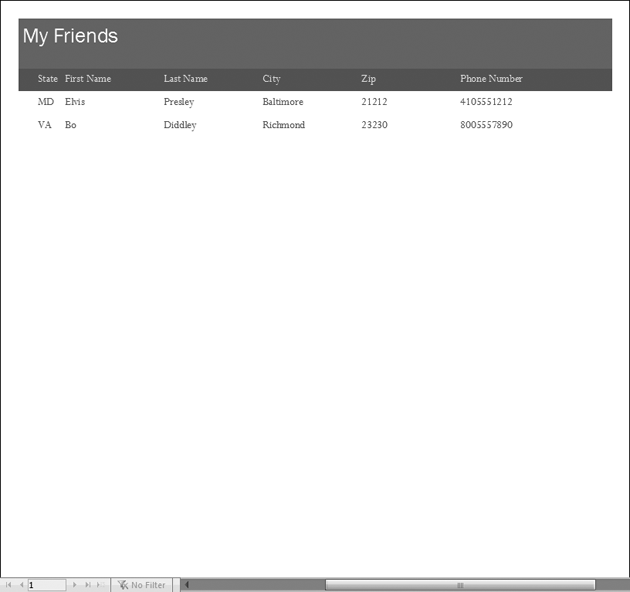
The report will be automatically created, saved and opened for you to view. It should look somewhat similar to this:

Create queries
Queries are a way to retrieve specific information from a database. You can think of queries as asking the database questions about the data, for example "How many of my customers live in Alberta?" or "Which products sold well this month and what was their quantity and price?" To create a query on an existing table, click on the Create tab at the top and then in the ribbon click on the Query Wizard button.


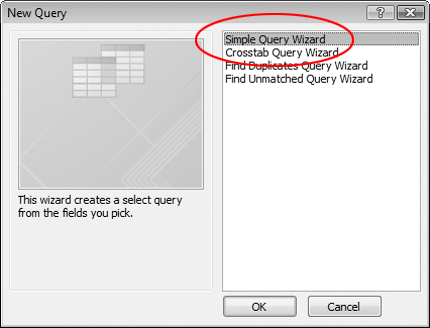
A new query window will appear, select the Simple Query Wizard to start creating basic queries and then click on the OK button

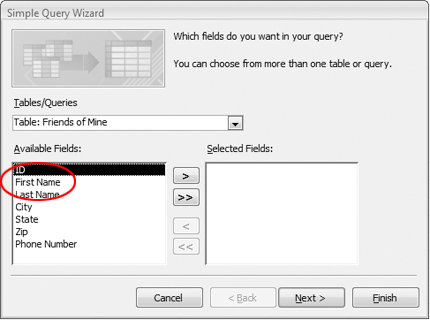
When the Simple Query Wizard appears, select the fields you want to include as part of your query from the Available Fields list and then click on the ">" button to add these fields to the list of Selected Fields.

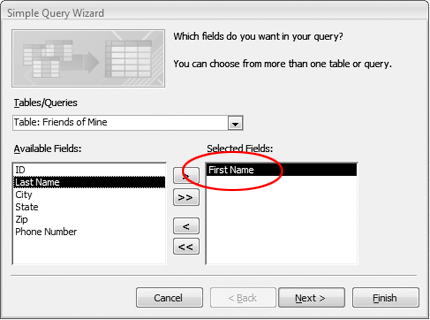
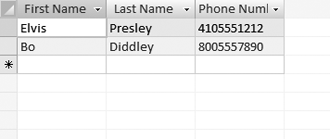
Your window should look similar to the picture depicted below, you should see the field you selected as part of the Selected Fields list. Once you have added all the fields you need click the Next button to continue with the Simple Query Wizard.

A final screen should appear (similar to the one below), give your query a name that is memorable and describes what it is that the query is doing. For example, "all customers from Alberta" and then click the Finish button.


The query will be automatically saved and executed, it searches through the table and displays a final result similar to the picture below.

Create Complex Queries
Now that we have a few relationship between tables, we can start making more complex queries and reports.
Give me selected data across SEVERAL tables
We can use the query design mode to build more complex queries easily.
Note: Relationships need to be defined. Check the relationships tab if you have problems. You need to know how to create relationships following the steps listed here
Query Design View

Select Tables

Select Fields
Make sure the relationship line is there between the two tables. It won't work otherwise.

Try and make it look something like this:

Run Query
Click the "Run" button in the upper left.

You should see something like this (provided you have orders in your database):

SQL View
You should see something like this.
SELECT
  Customers.[First Name],
  Customers.[Last Name],
  Orders.Product,
  Customers.[Email Address],
  Orders.[Order Date]
FROM Customers
  INNER JOIN Orders ON Customers.ID = Orders.Customer;
Give me Selected fields from Several Tables with Constraints
This query retrieves some specific fields from multiple tables, however with some constraints and displays the specified information.
Orders for Alberta Customers
We're going to retrieve all the customers from Alberta. Include the following fields:
- Customer.First Name
- Customer.Last Name
- Customer.Phone Number
- City.City Name
- Province.Province Name
When selecting Province Name, we will use a custom expression for the "Criteria" cell. This will allow us to only focus on customers from Alberta.

Right click the "Critera" cell under the "Province Name" field.

= "Alberta"text. Note the use of quotes in the comparison of a text value.
Orders for Alberta OR British Columbia Customers
Modify the query to include customers from Alberta OR British Columbia:

Give me Aggregate queries using selected fields from several tables
This query retrieves some specific information as well as uses a field to perform a calculation. For example, this query will count the number of orders each customer has placed, as well as display their name and their location.
SELECT
  Count(Orders.Customer) AS CountOfCustomer,
  Customers.[First Name],
  Customers.[Last Name],
  Cities.[City Name],
  Provinces.[Province Name]
FROM
  Provinces INNER JOIN
    (Cities INNER JOIN
      (Customers INNER JOIN Orders ON Customers.ID = Orders.Customer)
    ON Cities.ID = Customers.[City Name])
  ON Provinces.ID = Cities.[Province Name]

GROUP BY
  Customers.[First Name], Customers.[Last Name], Cities.[City Name], Provinces.[Province Name]

ORDER BY Count(Orders.Customer);
You need to right click in the field selection area and select the "Totals" button:

Also select "Count" as the function to use instead of "Group By"
Give me Aggregate queries using selected fields from several tables with Constraints on the Groups Shown
This query retrieves the same information as the previous query, however it has an additional constraint that will only show the Customers from Alberta.
Enter in"Albera"in the constraint field under "Province Name". This will restrict the result set to those entries whose Province Name matches "Alberta":
